How to build a climbing wall
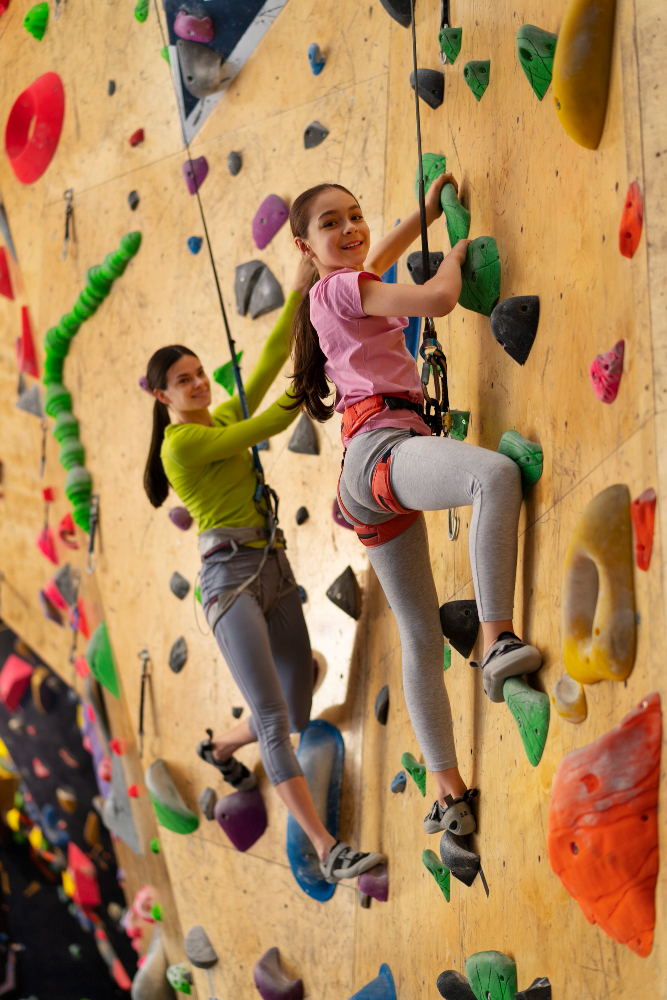
In recent years, rock climbing has experienced a significant boom in popularity. Both sports enthusiasts and those seeking new forms of exercise and entertainment are turning to climbing walls to challenge themselves and improve their fitness. Climbing not only provides a complete body workout, but also promotes concentration and problem solving. With this rise in popularity, the construction of climbing walls, either for personal use or as a business, has become an important trend.
Climbing wall planing
Planning is one of the most crucial stages in building a climbing wall. Proper planning ensures not only the functionality and safety of climbing wall, but also its durability and ability to provide an optimal experience for users of all skill levels. The key aspects of planning a climbing wall are detailed below.
Workspace selection
Evaluate the available space The first step is to determine the area where the climbing wall will be built, whether indoor or outdoor. This step is critical to ensure that the space is adequate and can support the structure and continued use.
Considerations for indoor spaces:
- Adequate space: You need enough space to move around the climbing walls and install safety equipment.
- Ventilation: Ensure that the space is well ventilated to avoid moisture problems and improve air quality.
- Lighting: Good lighting for safety and visibility during climbing.
Considerations for outdoor spaces:
- Climate protection: Need to consider exposure to the elements and provide protection from rain and sun.
- Floor surface: Ensure a level and stable surface to build the structure of the climbing wall.
Height and width The height and width of the climbing wall are essential factors to accommodate different levels of difficulty and types of climbing.
- Height: Must be enough to allow for climbing routes that are challenging and varied. Ideally, a climbing wall should be at least 4-5 meters high for bouldering and more than 10 meters for rope climbing.
- Width: Provide enough lateral space for multiple routes and to allow several climbers to use the climbing wall simultaneously without interference.
Design and space distribution The design of the climbing wall must be meticulously planned to maximize space use and provide routes that are safe and challenging.
- Arrangement of holds and volumes: Consider the strategic placement of dams and volumes to create routes of different levels of difficulty. Diversity in holds (size, shape, type) is crucial to keep the interest and challenge climbers.
- Slope and shapes: Include different angles and shapes (such as drop-offs, ceilings, and vertical walls) to offer a variety of climbing challenges and techniques.
Ergonomics of the Climbing holds How to put climbing holds in an ergonomic manner is crucial for the safety and functionality of the climbing wall.
- Height and range: Ensure that climbing holds are placed at a suitable distance so that climbers can move smoothly and safely.
- Variety of grips: Use a mix of large, small hold, rakes, tweezers and other types of grips to provide a complete climbing experience.
Specific areas Creating specific areas within the climbing wall helps to cater for climbers of different levels and different types of training.
- Beginner’s area: Easier routes with large prey and easy grabs for those just starting out.
- Intermediate area: Routes with moderate challenges, including a mix of different types of grips and technical moves.
- Advanced area: More technical and difficult routes that require strength, technique and endurance.
- Specific training zones: Areas dedicated to specific exercises such as dominating bars, cross-country boards and multi-dam boards to improve strength and endurance.
Necessary tools and materials
For the construction of a quality climbing wall, it is essential to have the right materials and tools. These elements ensure that the structure is resistant, safe and functional, allowing climbers to enjoy an optimal experience.
Structural materials
Wood boards
Use high quality plywood boards for the base structure: Plywood boards are ideal due to their strength and durability. It is crucial to select high quality boards to ensure the stability of the climbing wall.
- Recommendation: 18 mm thick plywood boards, preferably birch or pine, to ensure good structural strength.
- Treatment: Ensure that the wood is treated to resist moisture and prevent deformation.
Screws and nuts
Different sizes for joining boards and securing holds: A variety of screws and nuts for different parts of the structure are essential.
- Wood screws: 6-8 cm screws to attach the boards to the support structure.
- Screws for the joints: Shorter screws, usually 4-5 cm, to fix the joints to the boards.
Anchors
Quality anchors to secure the climbing wall securely: Anchors are crucial in ensuring that the structure is firmly attached to the wall, avoiding any risk of collapse.
- Chemical or mechanical anchors: Depending on the nature of the wall (brick, concrete, etc.), select appropriate anchors.
- Recommendation: Expansion anchors for concrete walls and resin anchors for brick walls.
Materials for climbing holds
Climbing holds
Variety of sizes and shapes to create varied routes: Climbing holds are the core of any climbing wall. It is important to have a wide range of hold to offer different levels of difficulty and types of grip.
- Types of holds: Troughs, blunt, rakes, tweezers, holes (pockets), etc.
- Materials: Preferably polyurethane for its durability and good grip.
Screws for climbing holds
Special screws, usually with hexagonal head or torx: These screws are designed to withstand repeated use and the stress that is applied during climbing.
Recommendation: 4-5 cm long galvanized steel screws with hexagonal or torx head for easy installation and removal.
Tools
Drill
Preferably impact: An impact drill facilitates drilling on hard surfaces such as brick and concrete.
Recommendation: Drill with impact function and different adjustable speeds.
Drills of different diameters
Depending on the size of the screws and anchors: Having a set of drills of different sizes ensures that precise holes can be made for the screws and anchors.
Recommendation: 6 mm, 8 mm and 10 mm drill bits to cover most drilling needs.
Cleaning brush
To clean the drilled holes: Removing dust and debris from the drilled holes is crucial to ensure good adhesion of the anchors.
Recommendation: Brush with metal bristles or an air blower for deep cleaning.
Hammer
To insert anchors: Used to gently tap the anchors into place.
Recommendation: Rubber hammer to avoid damaging the anchors.
Allen wrench or ratchet wrench
To tighten screws: These tools are necessary to firmly secure the joints to the structure.
Recommendation: Allen wrench set and a ratchet wrench with interchangeable heads.
Level
To ensure that the dams are level: A level ensures that holds are properly aligned, which is essential for both aesthetics and functionality.
Recommendation: Bubble level or laser level for greater accuracy.
Construction procedure
Building a climbing wall requires a meticulous procedure to ensure a safe and functional structure. The following are the essential steps from surface preparation to final installation of dams.
Surface preparation
Wall inspection Before construction begins, it is crucial to inspect the wall where the climbing wall will be installed.
Ensure that the surface is free of cracks and in good condition:
- Visual review: Examine the wall carefully to identify any cracks, fissures or structural damage that could compromise the integrity of the climbing wall.
- Strength test: Lightly tap the wall in several areas to make sure there are no hollow or weak sections that may need reinforcement.
Surface cleaning A clean surface is essential to ensure that anchors and dams adhere properly.
Remove dust and debris to ensure good adhesion:
- Brushing: Use a hard bristle brush to remove dust and dirt from the wall surface.
- Compressed air: Use compressed air to clean the drilled holes, making sure they are free of debris and dust.
Construction of the structure
Mounting the frame The support frame is the base of the climbing wall and must be solid and well anchored.
Build a solid support frame using plywood:
- Wood selection: Use high quality plywood, preferably birch or pine, to ensure structural strength.
- Secure the anchor: Fix the frame to the wall with sturdy anchors, making sure it is level and stable.

.jpg)


Comments
No comment at this time!
Leave your comment